Ultimate Guide to Home Heating System Installation
When the winter chill settles in, your home’s heating system becomes its absolute unsung hero. We rarely think about our heaters while they are quietly humming along, keeping our living rooms cozy and our bedrooms warm. However, heating systems do not last forever.
If your current system is blowing lukewarm air, making strange clanking sounds, or causing your monthly utility bills to skyrocket, you might be facing a big decision. Investing in a brand-new setup can feel overwhelming, but understanding the process can save you money, time, and stress.
This comprehensive guide breaks down everything you need to know about upgrading your home's comfort, choosing the perfect equipment, and ensuring a seamless setup.
1. Clear Signs Your Old Heating System is Giving Up
It is always better to plan an upgrade on your own terms rather than waiting for your heater to completely break down on the coldest night of the year. Emergency replacements often lead to rushed decisions and limited equipment choices.
Watch for these warning signs that your current unit is nearing the end of its operational lifespan:
- Age of the System: Most standard central furnaces last between 15 to 20 years, while heat pumps typically have a lifespan of 10 to 15 years. If your unit has crossed these milestones, it is running on borrowed time.
- Spiking Energy Bills: Have your heating costs climbed significantly over the past few winters, even though your usage habits haven't changed? As mechanical components wear down, the system has to work twice as hard and consume far more energy to produce the same amount of heat.
- Frequent, Costly Repairs: A good rule of thumb is the "50% rule." If a single repair costs more than 50% of the value of a new system—or if you find yourself calling a technician multiple times a year—put that money toward an upgrade instead.
- Uneven Heating Throughout the House: If your master bedroom feels like an icebox while your kitchen feels like a sauna, your aging system is likely struggling to distribute air effectively through your ductwork.
- Strange Noises and Odors: Occasional pops and clicks are normal as metal ducts expand and contract. However, persistent rattling, squealing, buzzing, or metallic grinding sounds point to serious internal mechanical issues. Similarly, burning odors or musty smells indicate failing electrical components or deep-seated dust and mold.
2. Choosing the Right Type of Heating System
Modern HVAC technology offers several highly efficient ways to heat your home. The right choice depends heavily on your local climate, access to fuel sources, and budget.
Gas Furnaces
Gas furnaces remain the most popular choice for regions that experience severe, freezing winters. They utilize natural gas to create a powerful, intense heat that warms up a house incredibly fast. Modern gas furnaces boast remarkably high Annual Fuel Utilization Efficiency (AFUE) ratings, with premium models converting up to 98% of the gas fuel directly into usable heat for your living space.
Electric Furnaces
If your neighborhood does not have access to natural gas lines, an electric furnace is a highly reliable alternative. They are typically less expensive to purchase and install upfront, and they eliminate any risk of carbon monoxide leaks. However, because electricity is generally more expensive per unit of energy than natural gas, electric furnaces can result in higher monthly operating costs in regions with long, harsh winters.
Heat Pumps
Heat pumps are rapidly growing in popularity due to their incredible versatility and eco-friendly design. Rather than generating heat through combustion or electrical resistance, a heat pump extracts ambient heat from the outside air (even in cold weather) and transfers it indoors.
Because they move heat rather than creating it, they can operate at up to 300% to 400% efficiency. Best of all, a heat pump completely reverses its cycle in the summer, acting as a highly efficient central air conditioner.
3. Why Proper Equipment Sizing Matters
When it comes to HVAC equipment, bigger is definitely not always better. One of the most critical steps in the entire installation process happens before a single tool is lifted: calculating the correct heating load of your home.
Professional installers use a detailed calculation known as a Manual J Load Calculation. This formula takes into account your home's total square footage, ceiling heights, insulation quality, window types, local climate, and even the direction your house faces.
4. What Happens During a Professional Installation?
Replacing a heating setup is a complex task that involves high-voltage electricity, gas plumbing lines, ventilation exhaust systems, and sheet metal ductwork. Knowing what to expect during the physical installation process can help you prepare your home and family.
Step 1: Pre-Installation Inspection and Preparation
The installation team will arrive and protect your flooring, carpets, and walls using drop cloths and protective runners. They will double-check the installation space to ensure it meets modern safety clearances and building codes.
Step 2: Safe Removal of Old Equipment
The old unit must be carefully disconnected. This involves safely shutting off gas supply valves, capping electrical lines, and disconnecting the plenum (the metal box connecting the heater to your ducts). The old equipment is then hauled away for proper, environmentally responsible recycling.
Step 3: Modifying Infrastructure (If Needed)
New systems often have different dimensions or venting requirements than older units. The technicians may need to modify your existing sheet metal duct connections, upgrade electrical breakers, install new gas lines, or run fresh PVC venting pipes to the exterior of your home.
Step 4: Placing and Calibrating the New Unit
The new furnace or heat pump is securely set in place, leveled, and connected to the home’s infrastructure. Technicians seal all duct connections with specialized mastic or foil tape to prevent conditioned air from leaking into unconditioned spaces like crawlspaces or attics.
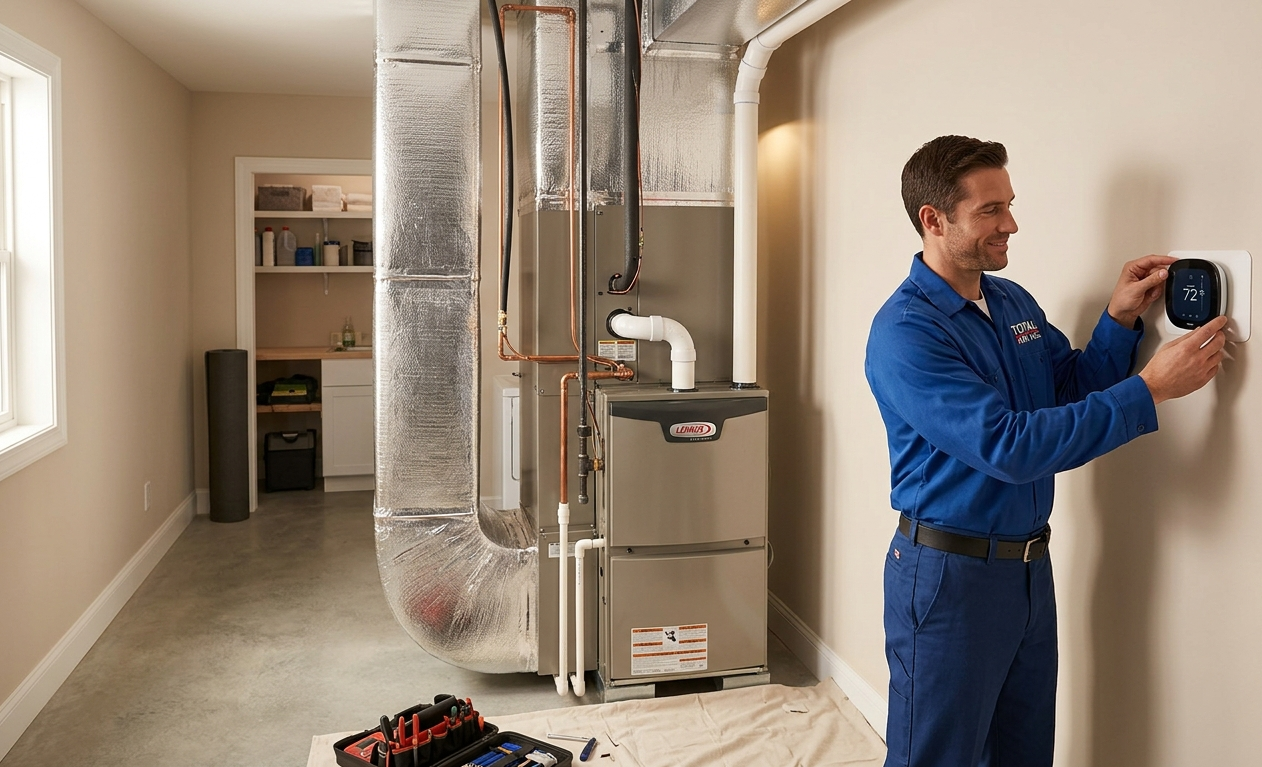
Step 5: System Testing and Homeowner Orientation
Once everything is wired and piped, the system undergoes a rigorous commissioning process. The team measures gas pressure, checks electrical draw, verifies proper airflow speeds, and tests safety safety switches. Finally, they will walk you through how to use your new thermostat, explain filter replacement schedules, and answer any operational questions you have.
5. Protecting Your Investment After Setup
A brand-new heating setup is a major financial investment in your property. To ensure you get the maximum value, lowest utility bills, and longest lifespan out of your new equipment, keep these three golden rules in mind:
- Change Your Air Filters Regularly: A dirty filter restricts airflow, forcing your brand-new system to work harder, overheat, and consume excess energy. Check your filter monthly and replace it at least every 90 days.
- Keep Vents Clear: Ensure that furniture, heavy drapes, and area rugs are not blocking your supply or return registers. Restricting airflow creates pressure imbalances that stress the system.
- Schedule Annual Professional Maintenance: Just like a brand-new car needs regular oil changes, a new heater needs annual professional tuning. A certified technician will clean internal components, tighten electrical connections, check for safety leaks, and catch minor wear and tear before it turns into an expensive breakdown.
Choosing the right partner for this process is the most critical decision you will make. When you are ready to upgrade your home's comfort and long-term energy efficiency, rely on certified experts to handle your professional heating system installation to guarantee your system is sized perfectly, installed safely, and tuned for peak performance for years to come.
